
RZRAVEN USB Stick - Jackdaw Contiki platform
This tutorial will walk through detecting the RZRAVEN on a node to compling and loading an example Contiki embedded OS image onto the device. The Contiki operating system boasts to be a minimal foot-print resource-efficient low-power operating system for microcontrollers with limited memory. More information on Contiki can be found on Contiki 2.6
Hardware / Software Utilized
- Grid nodes with RZRAVEN USB stick.
- Atmel's ICE debugger for loading an image onto the USB stick.
- Node image with ubuntu 64-bit version 16.04 or greater, AVR software and Contiki OS. For this example we can use 'ubuntu-16-04-64bit-rzraven.ndz' since this image has all the necessary components installed.

Set up
To get started, please follow the instructions for creating a reservation and loading images on orbit-lab nodes under ORBIT Tutorial -> Basic Tutorials -> testbed operations and use the Inventory/Status page to find nodes with IoT IEEE 802.15.4 devices. For this example we'll use node18-18 imaged with ubuntu-16-04-64bit-rzraven.ndz.
- After the node has been imaged and turned on, verify the RZRAVEN USB stick and the ICE debugger has been has been loaded and registered with the kernel. Check the 'dmesg' output for the following:
root@node18-18:~# dmesg | grep ICE
[    2.004469] usb 2-1.2: Product: Atmel-ICE CMSIS-DAP
[    2.984950] hid-generic 0003:03EB:2141.0001: hiddev0,hidraw0: USB HID v1.11 Device [Atmel Corp. Atmel-ICE CMSIS-DAP] on usb-0000:00:1d.0-1.2/input0
root@node18-18:~#
root@node18-18:~#
root@node18-18:~# dmesg | grep acm
[    9.184102] cdc_acm 2-1.1:129.2: ttyACM0: USB ACM device
[    9.184345] usbcore: registered new interface driver cdc_acm
[    9.184345] cdc_acm: USB Abstract Control Model driver for USB modems and ISDN adapters
- Also verify that software utilities are all up to date
  root@node18-18:~# apt-get update
  root@node18-18:~# apt-get install make gcc-avr binutils-avr avr-libc avrdude
- Next verify if the AVR utilities can see the ICE debugger. Check the file /etc/avrdude.conf under the section 'id="jtag3"' and make sure the value 0x2141 is present in the usbpid list. That section of the file should look like the following:
programmer
  id    = "jtag3";
  desc  = "Atmel AVR JTAGICE3 in JTAG mode";
  type  = "jtagice3";
  connection_type = usb;
  usbpid = 0x2110, 0x2140, 0x2141;
;
Compile, load and run the Contiki OS example
A version of the Contiki example OS code has already been downloaded and saved on the image. The original source can be found on github. To compile the code change directory to contiki-2.6/examples/ravenusbstick' and do a 'make all'.
root@node18-18:~# cd contiki-2.6/examples/ravenusbstick
root@node18-18:~# make clean
root@node18-18:~# make all
This generates the following output files
-rwxr-xr-x 1 root root  241840 Jan 23 14:14 ravenusbstick.elf
-rw-r--r-- 1 root root  119181 Jan 23 14:14 contiki-avr-ravenusb.map
-rw-r--r-- 1 root root  105342 Jan 23 14:14 ravenusbstick.hex
Now we can use the AVR utilities to load the .hex file onto the device via the ICE debugger. First erase the device to start from a clean platform.
root@node18-18:~#  avrdude -u -c jtag3 -p usb1287 -e
avrdude: AVR device initialized and ready to accept instructions

Reading | ################################################## | 100% 0.07s

avrdude: Device signature = 0x1e9782 (probably usb1287)
avrdude: erasing chip

avrdude done.  Thank you.
Now load the device with the executable
 root@node18-18:~#  avrdude -u -c jtag3 -p usb1287 -v -U ravenusbstick.hex
 avrdude: Version 6.2
         Copyright (c) 2000-2005 Brian Dean, http://www.bdmicro.com/
         Copyright (c) 2007-2014 Joerg Wunsch

         System wide configuration file is "/etc/avrdude.conf"
         User configuration file is "ro/ot/.avrduderc"
         User configuration file does not exist or is not a regular file, skipping

         Using Port                    : usb
         Using Programmer              : jtag3
avrdude: usbdev_open(): Found Atmel-ICE CMSIS-DAP, serno: J41800077809
avrdude: Found CMSIS-DAP compliant device, using EDBG protocol
         AVR Part                      : AT90USB1287
         Chip Erase delay              : 9000 us
         PAGEL                         : PD7
         BS2                           : PA0
         RESET disposition             : dedicated
         RETRY pulse                   : SCK
         serial program mode           : yes
         parallel program mode         : yes
         Timeout                       : 200
         StabDelay                     : 100
         CmdexeDelay                   : 25
         SyncLoops                     : 32
         ByteDelay                     : 0
         PollIndex                     : 3
         PollValue                     : 0x53
         Memory Detail                 :

                                  Block Poll               Page                       Polled
           Memory Type Mode Delay Size  Indx Paged  Size   Size #Pages MinW  MaxW   ReadBack
           ----------- ---- ----- ----- ---- ------ ------ ---- ------ ----- ----- ---------
           eeprom        65    10     8    0 no       4096    8      0  9000  9000 0x00 0x00
           flash         65     6   256    0 yes    131072  256    512  4500  4500 0x00 0x00
           lfuse          0     0     0    0 no          1    0      0  9000  9000 0x00 0x00
           hfuse          0     0     0    0 no          1    0      0  9000  9000 0x00 0x00
           efuse          0     0     0    0 no          1    0      0  9000  9000 0x00 0x00
           lock           0     0     0    0 no          1    0      0  9000  9000 0x00 0x00
           calibration    0     0     0    0 no          1    0      0     0     0 0x00 0x00
           signature      0     0     0    0 no          3    0      0     0     0 0x00 0x00

         Programmer Type : JTAGICE3
         Description     : Atmel AVR JTAGICE3 in JTAG mode
         ICE hardware version: 0
         ICE firmware version: 1.39 (rel. 130)
         Serial number   : J41800077809
         Vtarget         : 3.26 V
         JTAG clock megaAVR/program: 7500 kHz
         JTAG clock megaAVR/debug:   1000 kHz
         JTAG clock Xmega: 1000 kHz
         PDI clock Xmega : 1000 kHz

avrdude: JTAG ID returned: 0x3f 0x20 0x78 0x49
avrdude: AVR device initialized and ready to accept instructions

Reading | ################################################## | 100% 0.07s

avrdude: Device signature = 0x1e9782 (probably usb1287)
avrdude: NOTE: "flash" memory has been specified, an erase cycle will be performed
         To disable this feature, specify the -D option.
avrdude: erasing chip
avrdude: reading input file "ravenusbstick.hex"
avrdude: input file ravenusbstick.hex auto detected as Intel Hex
avrdude: writing flash (37448 bytes):

Writing | ################################################## | 100% 1.62s

avrdude: 37448 bytes of flash written
avrdude: verifying flash memory against ravenusbstick.hex:
avrdude: load data flash data from input file ravenusbstick.hex:
avrdude: input file ravenusbstick.hex auto detected as Intel Hex
avrdude: input file ravenusbstick.hex contains 37448 bytes
avrdude: reading on-chip flash data:

Reading | ################################################## | 100% 0.68s

avrdude: verifying ...
avrdude: 37448 bytes of flash verified

avrdude done.  Thank you.
- Bring up the device as a network card
root@node18-18:~#  ifconfig usb0 up
root@node18-18:~#  ifconfig usb0
usb0      Link encap:Ethernet  HWaddr 02:12:13:14:15:16
          inet6 addr: fe80::12:13ff:fe14:1516/64 Scope:Link
          UP BROADCAST RUNNING MULTICAST  MTU:1298  Metric:1
          RX packets:0 errors:0 dropped:0 overruns:0 frame:0
          TX packets:8 errors:0 dropped:0 overruns:0 carrier:0
          collisions:0 txqueuelen:1000
          RX bytes:0 (0.0 B)  TX bytes:1000 (1000.0 B)
Now the device is loaded and running the executable. To access the softwares terminal interface provided by the exampleroot@node18-18:~# screen /dev/ttyACM0 Type 'h' to bring up menu *********** Jackdaw Menu ********** [Built Jan 23 2018] * m Print current mode * * s Set to sniffer mode * * n Set to network mode * * c Set RF channel * * p Set RF power * * 6 Toggle 6lowpan * * r Toggle raw mode * * d Toggle RS232 output * * S Enable sneezer mode * * e Energy Scan * * R Reset (via WDT) * * h,? Print this menu * * * * Make selection at any time by * * pressing your choice on keyboard* *********************************** Type 'e' to invoke an enery scan. Energy Scan: ................ 11: -53dB ######################::::::::::::::::: 12: -50dB ########################################## 13: -50dB ########################################## 14: -62dB #########################::::: 15: -68dB ########:::::::::::::::: 16: -71dB ##################### 17: -68dB ######################## 18: -74dB ################## 19: -83dB #:::::::: 20: -83dB ::::::::: 21: -62dB ##########:::::::::::::::::::: 22: -53dB #################################:::::: 23: -59dB #####################:::::::::::: 24: -62dB ####:::::::::::::::::::::::::: 25: -92dB 26: -71dB #####:::::::::::::::: Done.
To exit 'screen' session use 'ctrl+a' then 'd' to exit
If the debug interface stops working in 'screen', you can send 'R' to reset the stick and then try again.
Attachments (1)
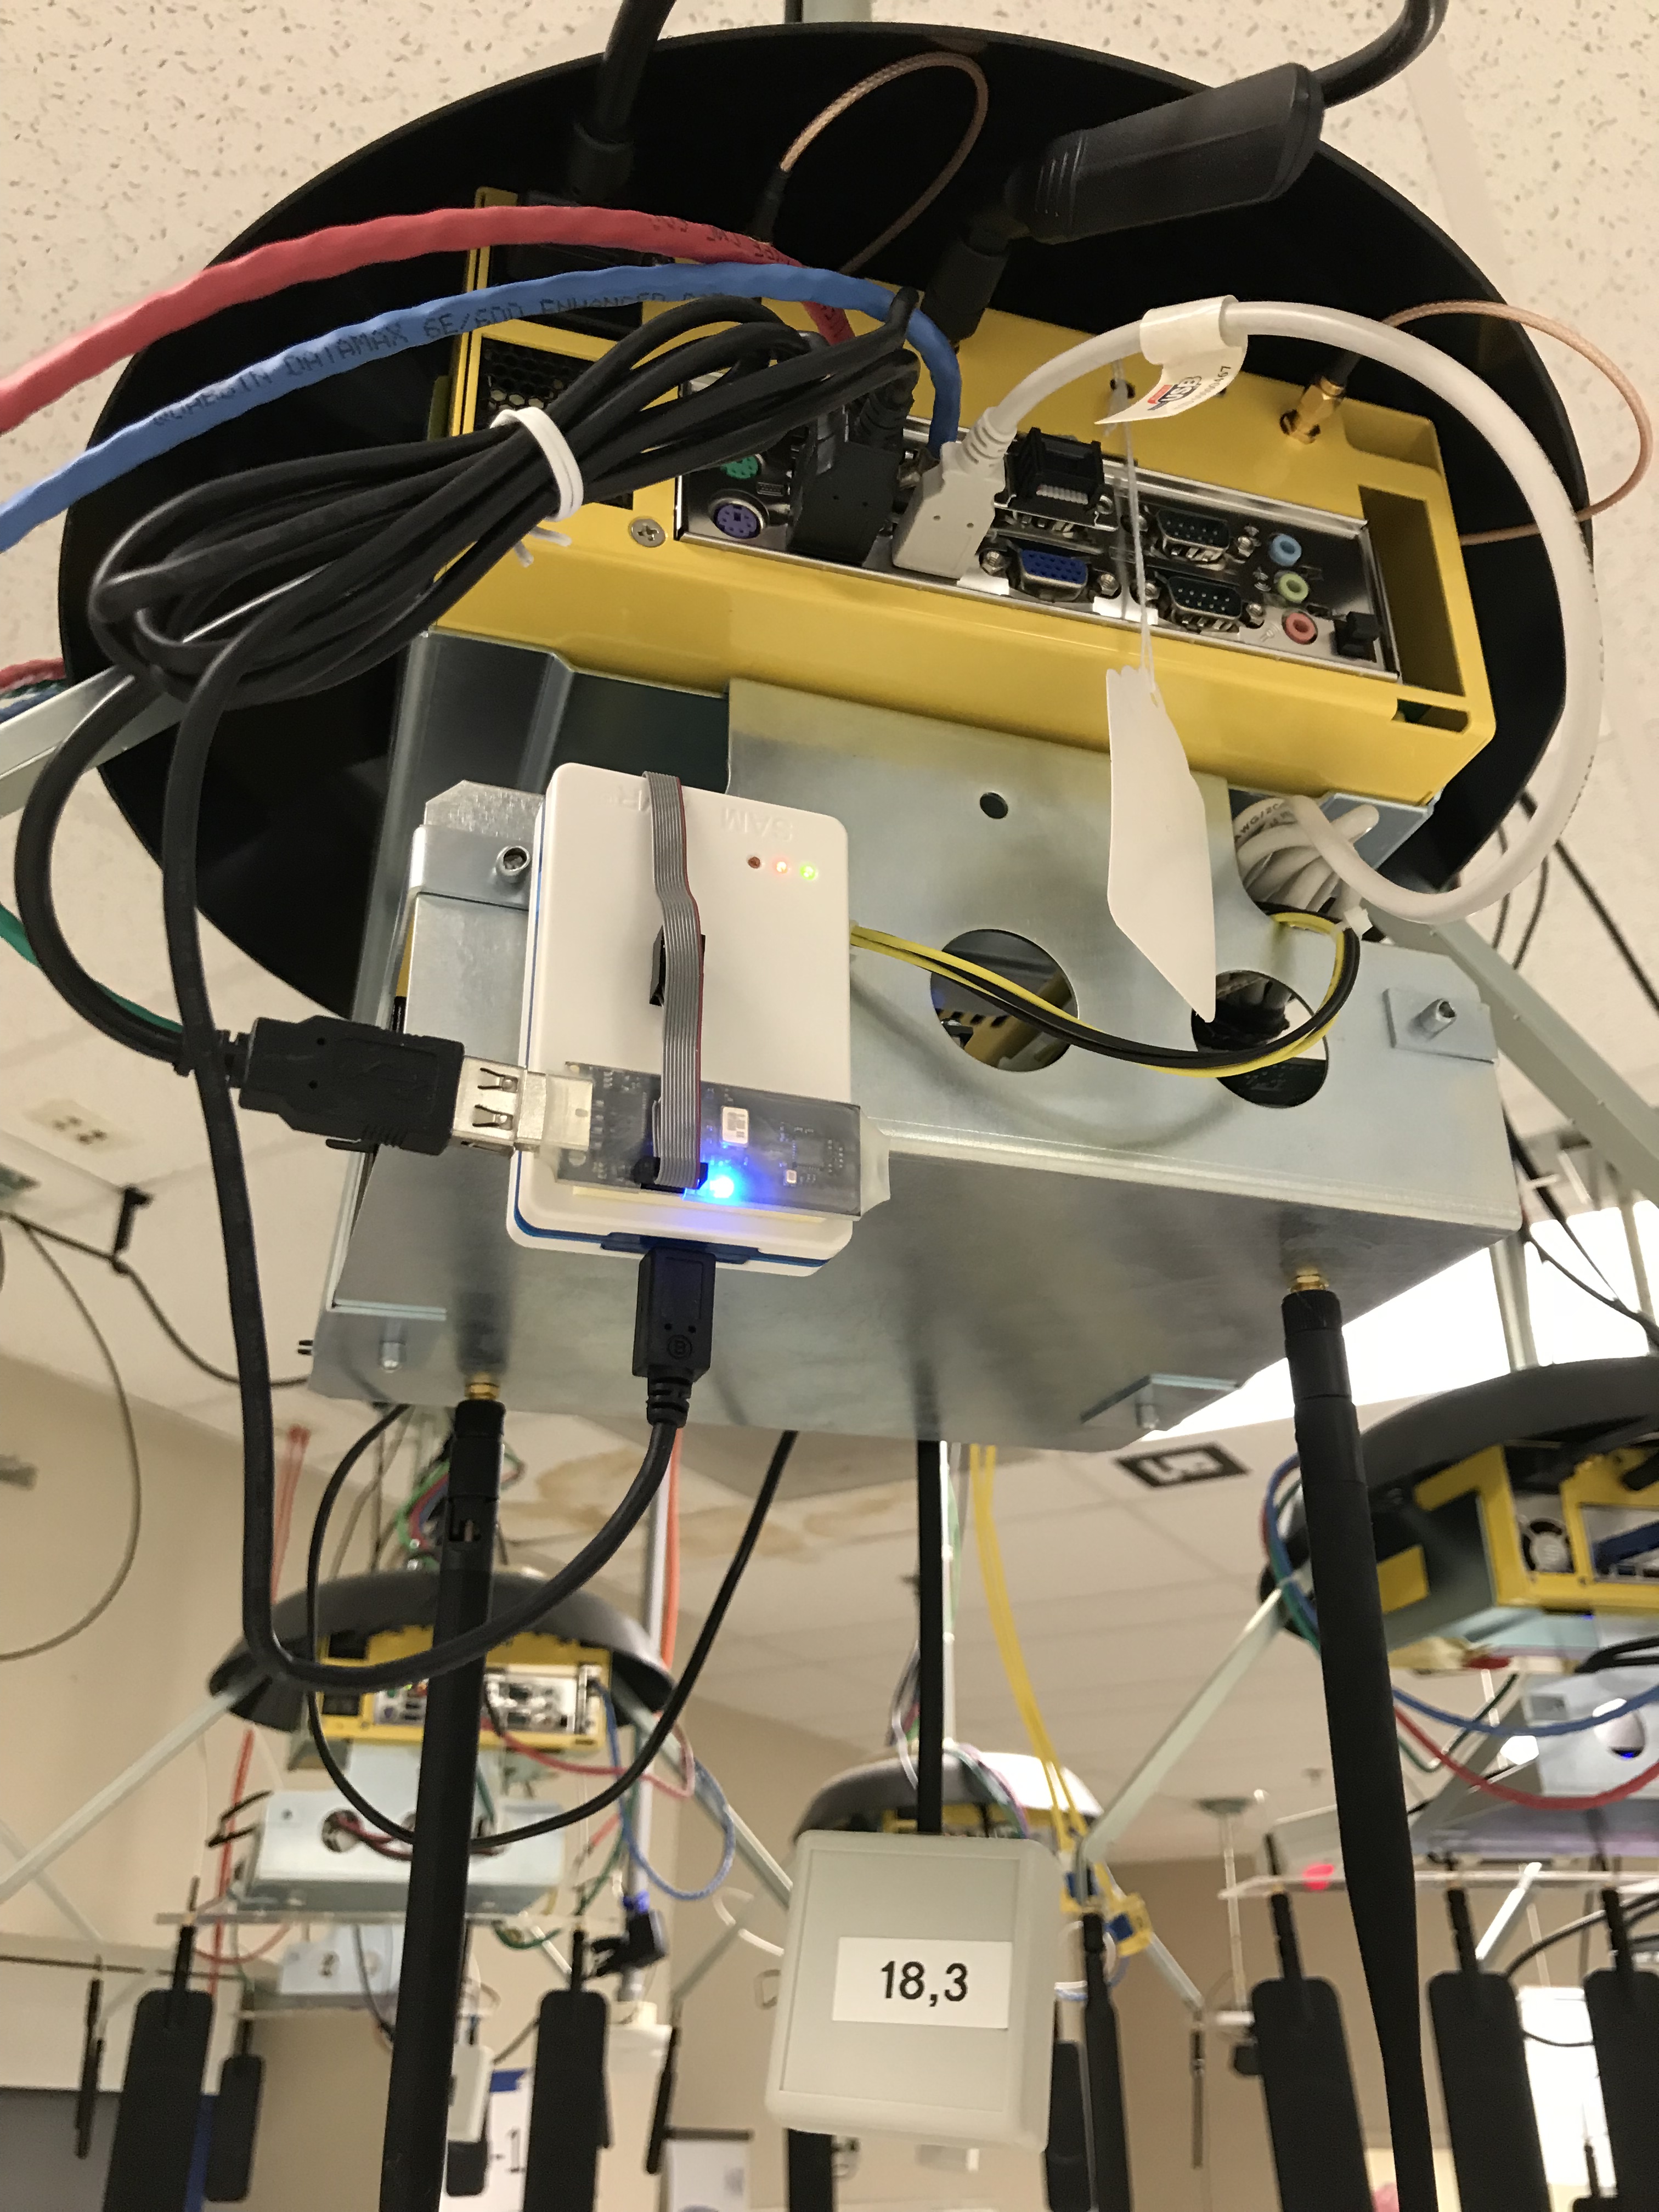
- RZRAVEN.jpg (2.3 MB ) - added by 6 years ago.